Questions? Comments? Suggestions or Ideas? Contact me at:
cynspiration [at] gmail [dot] com
Showing posts with label felt. Show all posts

Wednesday, December 15, 2010

Bean Bag Toss Bins!

Today's post is really an extension of yesterdays post. Yesterday we made bean bags and I mentioned that J wanted to practice throwing them into things, I knew that I needed to accompany the beanbags with some bins.
Photobucket
I stopped by Ace and picked up these plastic paint containers. I purchased three sizes, 5 quart, 2.5 quart, and 1 quart, for only $8. I like the difference in size because it will give the boys some variety. But I didn't like the look of all the Ace writing and mention of fill lines. 
Photobucket
I had a lot of fabric left over from the felt playhouse that I made(take a look if you haven't seen it, it is really cool!!), and decided it was time to use some of it. I measured the containers and trimmed the felt to size. Using a hot glue gun, I slowly wrapped the felt all the way around the container. I added a border and then a number.

The numbers are so that the kids can try for points. I want to point out that I intentionally gave the largest container the highest point value. I know it is normally done in reverse, but I was sensitive to the fact that my boys are young and I wanted to reward them for what they will be good at.
Photobucket
I am really happy with the way they turned out! What do you think? I can't wait to give this gift to the boys, I know they will be so excited!

Tuesday, October 19, 2010

Felt Playhouse-Castle Style

Hello! Back again, it seems harder to craft and then blog than I had anticipated. How do you find the time to get your crafting in? It seems particularly hard for me because the MR. has requested that I not do after hours crafting. (He is probably right considering I am GROUCHY if I stay up too late. Morning comes early with multiple wakings and kids.) At any rate, I am trying to do it with three kids running around all day and it isn't very effective! 

I also finished and shipped the second Bowser costume! Wow, it still took a lot of time, and I made some great hair this year so the costume was even improved a little! And then a breathed a sigh of relief and began tackling my owns kids costumes, way behind schedule. But they are coming along. 

*************

On to what you want to see! I posted a while back about a felt playhouse that was in the works. I joined a 1st birthday exchange and felt the need to make something great! (MR thinks I went overboard, but a little girls joy is SO worth it-right?)  So here are the pictures of the castle I made for a sweet little girl. The only thing I would change is I would have done the battlements differently. See how they won't stand straight? I double layered the felt and used pipe cleaners for some 'bones' in between the layers, but the stability I was looking for isn't there. Next time (if there ever is one) I would use a real strong interfacing-the kind used for hat brims- and put that in between the layers and I would not sew it onto the fort as shown here. I would put Velcro all the way around the playhouse and attach the battlements as a second piece.

Photobucket

Photobucket
The Ivy wall
Photobucket
With flowers (attached with Velcro)
Photobucket
The friendly dragon ( I copied a clip art image and had my Dad draw it to scale.)
Photobucket
Window Wall with shape matching on the bottom.
Photobucket
Crown, torches, and mail
Photobucket
Weather pieces so She can match the weather outside.
Photobucket
Notice how the 'Drawbridge" door stays connected at the bottom? I put small grommets into the door and the 'door frame' and then used a key ring to run through both layers giving the Drawbridge effect I was looking for.

So, what do you think? I got the original idea for a Felt Playhouse from Jill at Homemade by Jill.

Wednesday, July 28, 2010

Fun with Felt!


Have you ever played around with felt? I use it for all sorts of fun crafts and right now I am working on a felt playhouse. I will be documenting as I go, but the finished product will be a castle. Of course, castles need scrolls and what better way to tie them than with ribbon?

You will need:
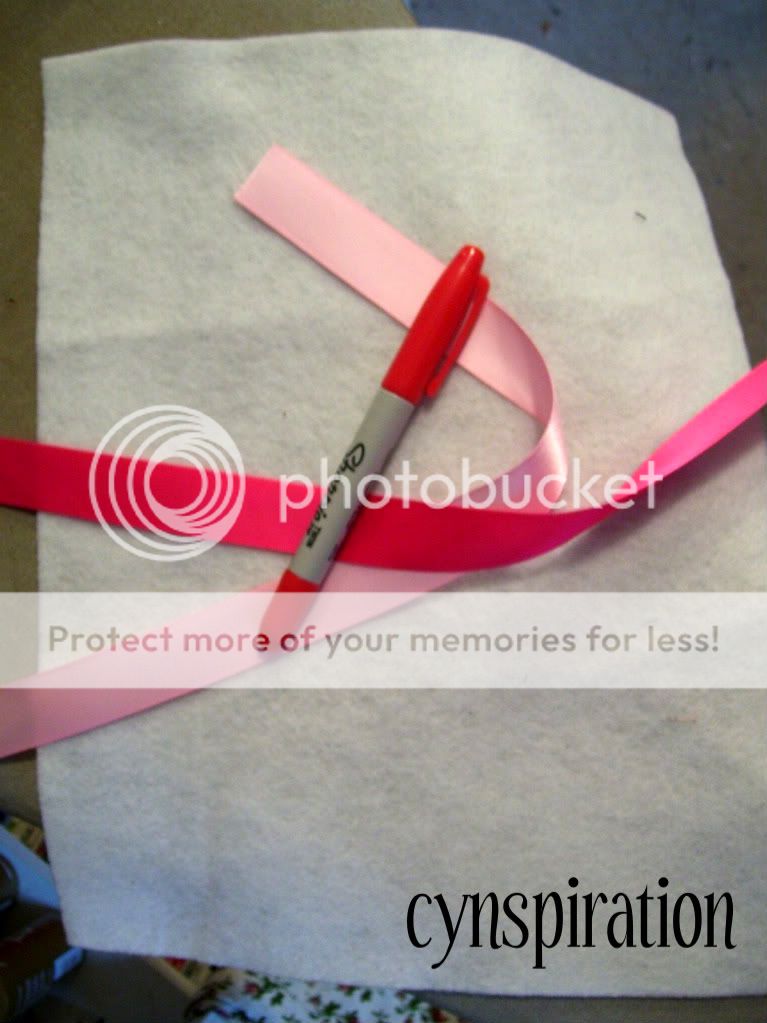
One piece of felt, I chose white. Cut into two equal pieces cutting straight down the long side. 
2 peices of ribbon about 12 inches long
and a fabric marker or sharpie
Photobucket
 Pin your ribbon to the backside of your felt. I pinned the middle of the length of ribbon down in the middle of the felt, but in the future will pin down mid-ribbon near one edge.
Photobucket
Stitch a rectangle
Photobucket
Write your letter on the right side of your felt. I didn't like how the Sharpie wrote, and will be trying a fabric marker next time.
Photobucket
Finish it off by tying the two ends of the ribbon together and you are DONE!
Photobucket
Fun and simple right? I am so excited to work more on this playhouse. I think the finished product will be wonderful!