*************************
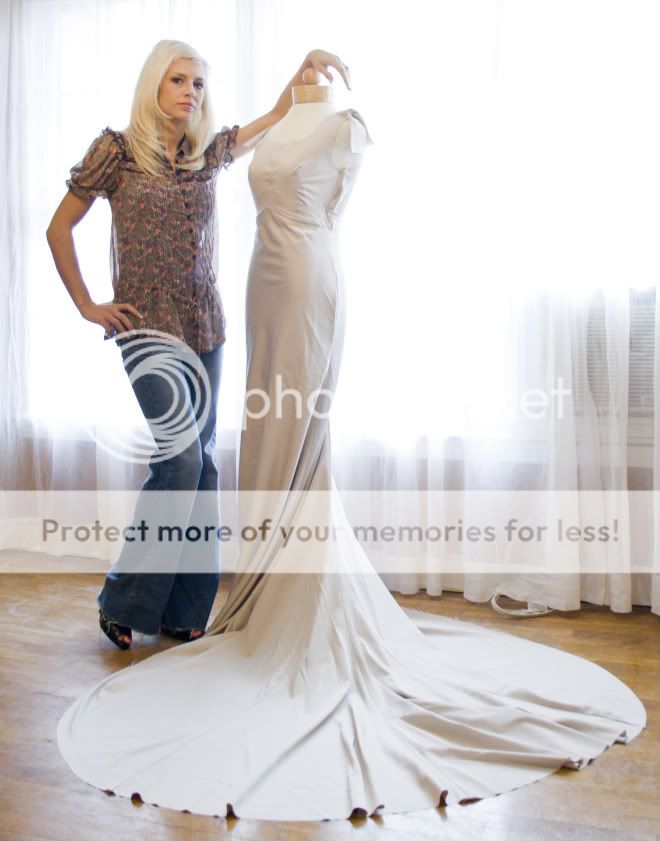
I started sewing when I was 6 years old, my mom would sew every night and I would sit on the floor and watch her. I started gathering scraps, and when she showed me how to sew by hand I made my first project-a belt for my older sister. I started sewing on a machine when I was 14 and things picked up from there!
I majored in Theatre in college, but mostly focused on Set Design even though I was working in the costume shop also during that time. After graduating, I returned to my hometown and began costuming many local productions, as well as designing and supervising production for a regional theme park. I also enjoy sewing fashion and accessory items, and now creating for my child.
I majored in Theatre in college, but mostly focused on Set Design even though I was working in the costume shop also during that time. After graduating, I returned to my hometown and began costuming many local productions, as well as designing and supervising production for a regional theme park. I also enjoy sewing fashion and accessory items, and now creating for my child.
I've always enjoyed trying to extend the life of things around the house, giving them a new use if possible. While I was pregnant I decided my next commercial project would force me to commit to re-purposing something in every thing I made. So, after my son's birth, I launched my etsy store Free Rose. Everything I feature on there, from my cloth diapers, to handbags and fashion pieces, is hand made by myself and feature repurposed fabrics. I enjoy working within those constraints because it really is a great challenge and is very fulfilling. ~Susie
**************************
Elastic Free Upcycled Sweater Pants by Free Rose
Supplies: One sweater, Stretchy pants that fit your child (to use as a pattern) Scissors, Pins, Thread, Sewing Machine, Serger if available
These easy upcycled baby and toddler pants are made using the neck of a sweater as the waistband, eliminating the need for elastic and providing a comfy seam free waistband. When choosing a sweater, measure your child’s waist and and find a sweater with a similar neck circumference. The sweater pictured has a thick 2” band collar, a turtle neck would make for a cool fold-over waistband; I even made a cool button-fly pair using a button up, collared sweater! A close knit is also helpful so that it will not unravel while you work with it. Any fiber content will do; I used 100% Wool so that mine could double as a cloth diaper cover. Here we go!

Step 1: First, you will need to lay the sweater flat and inside out (right sides together).
Step 2: Then fold it in half with the front of the sweater to the inside, making sure it is flat and smooth. Since a collar naturally dips to the front, we will be doing all of our measuring based off of the larger back seam.

Now, fold your childs pants along the middle with the front to the inside, making sure they are smooth. Below you can get an idea of where we are going with the patterning. Moving on to measuring and cutting...

Step 3: Measure the outseam of your child’s pants (this is the seam that runs from the hip to the ankle). Add 1” for a hem allowance. Using a ruler and that measurment, you will want to measure from where the collar meets the shoulder, down into the side seam of the sweater. You will need to add a 1/2” seam allowance. I used a cutting mat, clear ruler, and rotary cutter, so I could measure my outside and seam allowance at the same time, it makes things much faster, and keeps your sweater lying nice and flat while you finish patterning! *I measured 18” from the bottom of the collar for my approx. size 18-24 M pair.


Cut along your out seam, this removes the sleeves from the sweater. (Set them aside, you can make a second pair of pants from them too!) We are halfway done!

Step 4: Now, go back to your children’s pants, and measure the center back seam, from the center of the crotch (where all the pieces meet) to the base of the waist band in the back. Return to the sweater, and mark that measurement-starting at the base of the collar (where it meets the body of the sweater), adding 1/2” for your sean allowance. *I measured 9 1/2” for mine.

Step 5: For the next step, you’ll need to lay your child’s pants over the sweater, matching the crotch of the pants to your 1/2” above your measurement and the outer leg seam with your cut edge.

Trace or cut along the inseam and hem, adding seam allowance (1/2” on inseam, I did a 1” hem so I would have extra to lengthen the pants later.)


Thread your machine and set it to a tight, smaller than average stitch to prevent the knit from unraveling, a stitch length of 2 should generally work. Sew seams together, being careful keep your knit from stretching.

* If you are making these as longies for cloth diapers, you can easily add a soaker layer to the front and back before stitching the inseam. The scraps from between the legs would work perfectly.
Your raw edges will need to be finished to avoid unraveling. I used a serger, but a medium zig-zag along the edge would work also.

Step 7: Now onto the last step!! Before turning up the hem, I like to trim a small corner off of the bottom of the hem so that there is less bulk along the seam.

Turn up the bottom of the pants 1” (or whatever seam allowance you added in step 5) and pin.

Stitch along the raw edge with a zip zag, which will finish the edge and hem the pants in one step, making sure to not stretch the garment as you stitch. I also recommend using a zig-zag in this step because it is easier to remove if you even need to adjust the length of the pants, and makes it easier to keep the knit flat.

All that’s left is to turn your pants inside out and say “WOW! That was easy and these are adorable!!” :)

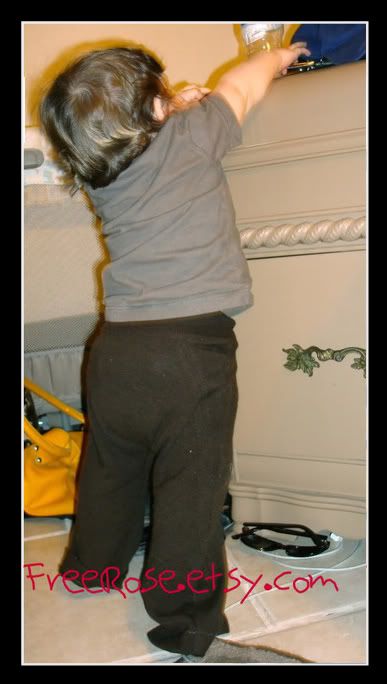
I spent an evening hoping for an action shot, but my son was so comfy in these pants he wouldn't stay still.

****************************************
Isn't she great!?! I love this tutorial and I intend to hit up the local Thrift store in search of a nice sweater or 2...or 3!


2 comments:
Great idea!
I love this idea! Thank you so much for sharing!
I am visiting from I Am Momma Hear Me Roar's linky party, check me out!
http://imakestuff4fun.blogspot.com/2010/11/punky-brewster-dress.html
Post a Comment