
I spend all winter Cold. Living in the mountains, as I do, I am subject to continuous cold weather. I love a nice heating pad. My problem with electric ones is that they are not safe in bed. So if I want to have my freezing cold toes on one, I have to be willing to get out of bed after I am all warm and toasty. See my dilemma? So today, I am making a RICE HEATING PACK. You will want to make one too, once you see how easy it is.

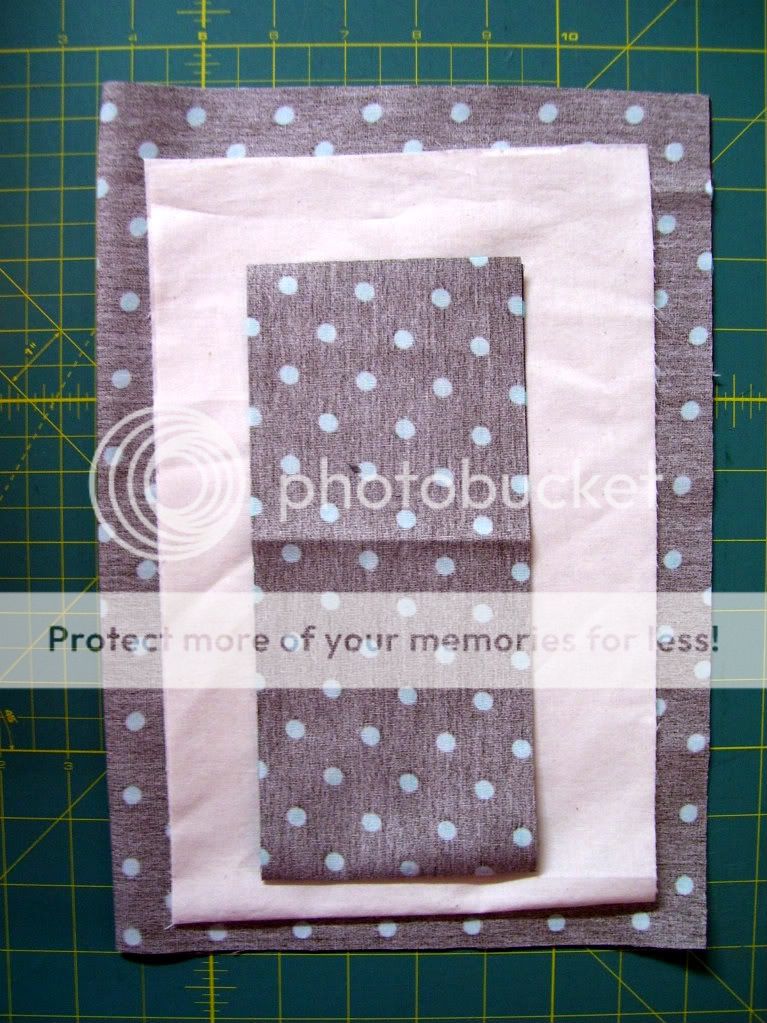
Start by cutting out your fabric. You will need a lining and an outer bag fabric. I cut mine out each in one piece that was folded, but that is not necessary. The measurements:
Lining: CUT 2 11" by 7"
Bag: CUT 2 12" by 8"
Flap: CUT 2 12" by 4"
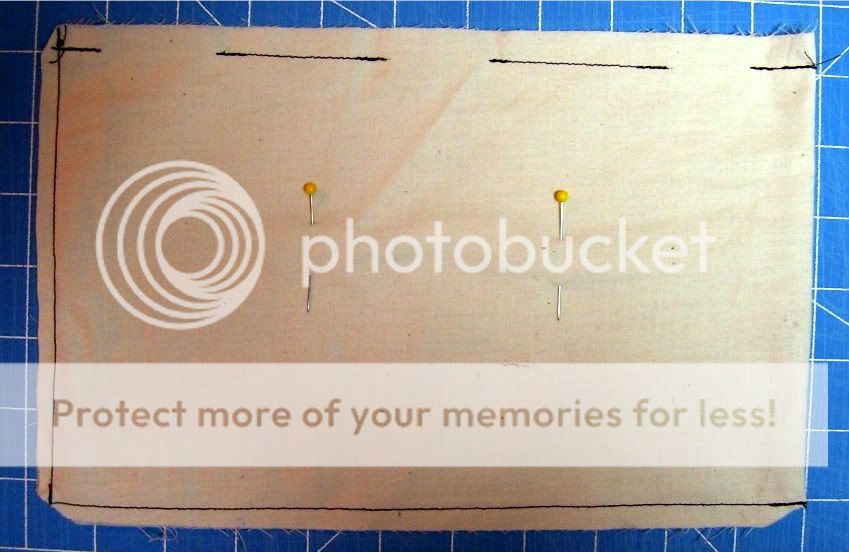
Start with the lining fabric. Because I cut one long piece of each I folded all my pieces in half. But I will instruct as if I had done it with two separate pieces of fabric-please imagine the last seam line.
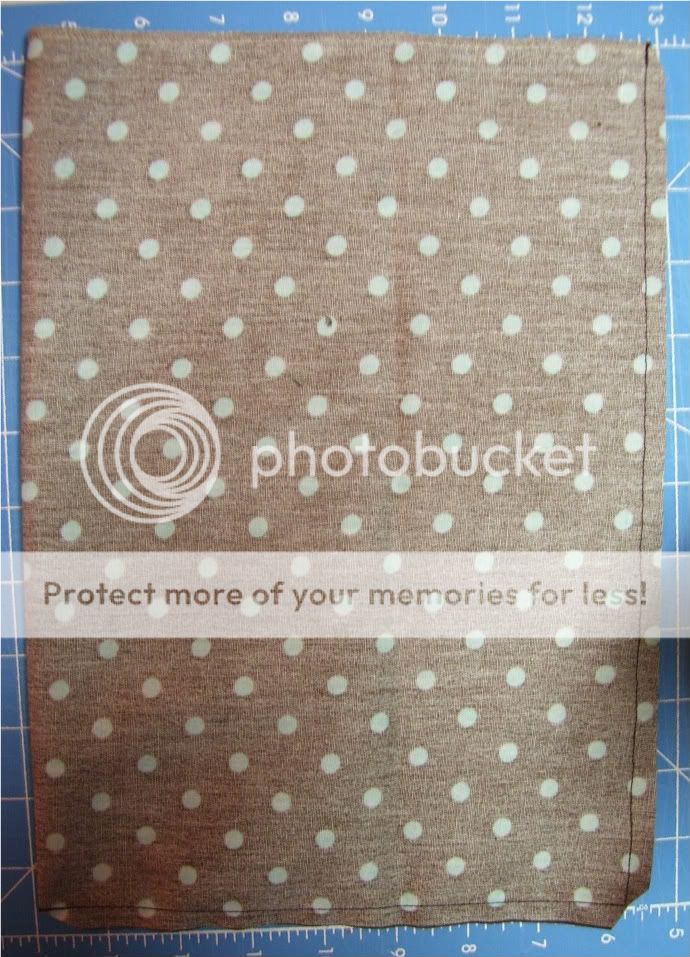
With right sides together, sew both short sides and one long side together. On the remaining side, start a seam, and then leave 3 openings along it. Backstitch at your start/stop points. These openings are the beginnings of channels for the rice. The pins mark where I will put seams later. Clip corners and turn right side out through one of the openings at the top. Press.
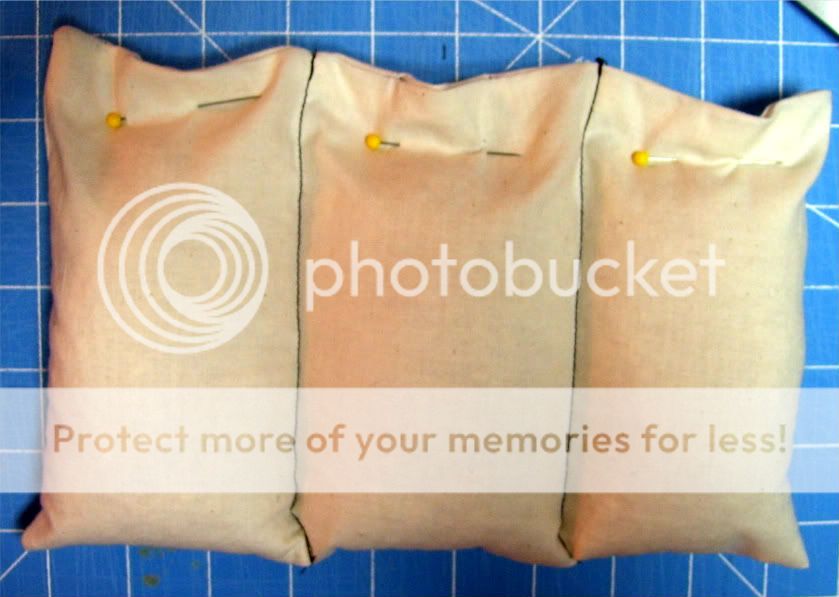
Sew 2 straight seams down the width of your lining bag, one seam in between each of your openings. It should look like this. Use a funnel and fill with rice.
***NOTE:The purpose of the channels is so that the rice is not able to pool at one end and leave one end cold.

Pin closed after filling and hand stitch each opening closed OR if you are daring, carefully top stitch closed. (I don't recommend this option. It is hard to maneuver and more than one needle has broken trying to come down on top of rice...) Your rice filled lining is done!
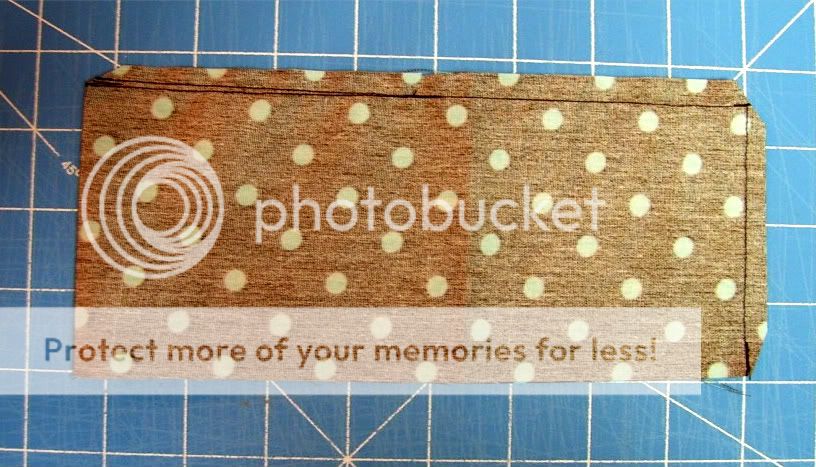
Next, the flap. Sew around two short edges and one long edge. You want your flap to look like this. Clip corners, turn, and press. After turning, I serged the unfinished edge. If you do not have a serger, press the raw edge inside 1/4 inch and baste the opening.
For the bag body, finish the top edge with a serger if possible or fold over 1/4 inch and sew down. Sew around 3 sides of the bag body, along both long edges, and the bottom open, you want your finished edge left open. Clip corners, and serge the remaining seams if possible. Turn and press.
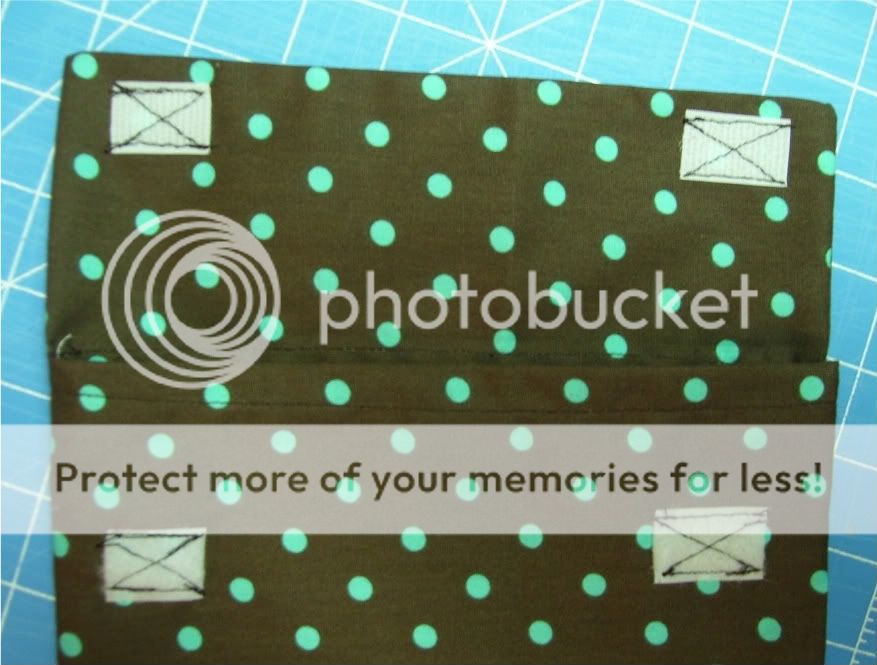
Pin your flap to the back of your bag body, matching serged/finished edges. Sew down with a 1/4 inch seam.

Open flap, and press seam down into the bag, and continue around the whole opening. Stitch down as close to the original edge as possible. So my stitch is 1/4 inch in.

Add velcro or buttons to keep your bag closed once your rice bag is inside.
I left my bag big(The measurements I provided won't be this roomy) on accident. I did adjust the pattern size here.

VARIATION: My boys love to have something warm on their feet too when they sleep, and in keeping with the color tradition, J and H both get a rice bag in their correct colors. I made their bags with a washcloth, and I followed the instructions for the rice bag, but skipped the outer decorative bag. Their little toes will be so toasty!

Finished! Doesn't it look great? My toes are cold as I write this and I am headed to warm it up now!
TO HEAT: Place rice bag with out decorative cover in the microwave. Microwave for 2 minutes, and then check your bag. If more time is needed flip over and set again. If you want your bag to be cold, place in ziploc bag first and put in your freezer for 30 minutes. Enjoy! This would also make a great gift for someone on your Holiday list, and it's quick and easy! What do you think?

2 comments:
My Oma made me one of these when I left for college and it is still my favorite heat pack...though I do need to make some more :) thanks for sharing
I love this! *Cough* *Ahem*... Wouldn't this make such a great birthday gift?! :)
Post a Comment