
What a day it has been already! I seem to have 3 little boys who are unhappy-arguing and crying all morning, and the day isn't even half over yet! Here's hoping for a Mommy time out to rejuvenate my nerves.
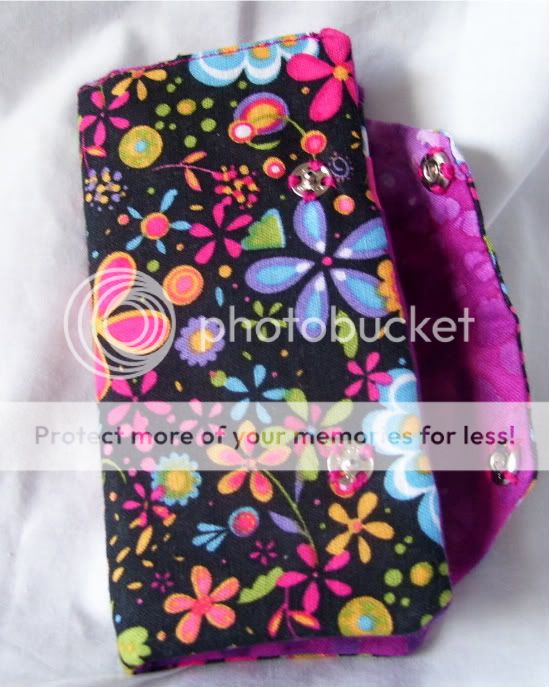
Last night I made a Credit Card wallet to match one of the key fobs I made. (Remember those? See them here.)

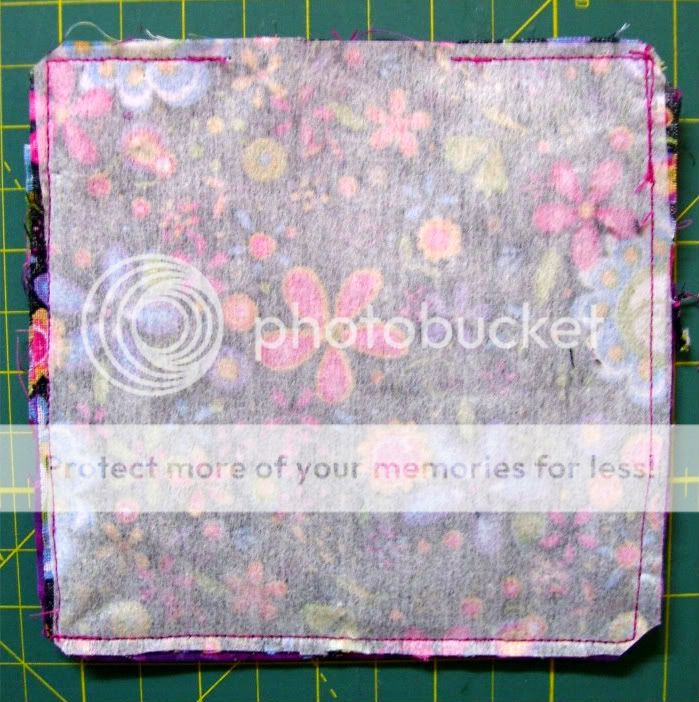
I started with picking out two materials, one for the outside and one for the inside. I picked a third fabric for one small piece as well, to be one of the pockets.
I started by making a freezer paper pattern. Here are the measurements:
CUT 2 5 1/2 inch squares, one of each outside and inside fabrics
CUT one piece from three different fabrics 5 1.2 inches by 7 inches
CUT 2 5 inch squares from light weight fusible interfacing.
To make the flap, draw one edge 5 1/2 inch line and 2 inches away center a 3 1/2 inch line. Draw a diagonal line from each end point to make a trapezoid shape. See my pattern pieces below. CUT one from each outside and inside fabric.

Using your iron, fuse your interfacing to the wrong side of each 5 1/2 inch square. It isn't pictured, but you should have a small edge without interfacing around the edge.

With right sides together, sew your rectangles (7 by 5.5" pieces) into a tube, matching 5.5 inch ends. Just one seam along the bottom, leaving the ends open.

Turn right sides out and press.

We are now going to make the pockets for the cards. On the right side of the inside fabric, pin one of the rectangles with the fold towards the top. I figured out where to place the pocket by putting a gift card on top where I wanted it to fit and then placing the fabric 1/4 lower. Sew along the bottom. See the arrows? Start with the tallest pocket, and add to it so that the seams don't close off your pockets.

Continue with the next two flaps, only sewing along the bottom edge, with folded edge towards the top.

Mark the middle and sew one seam down the center, so you will have two rows of pockets.

With right sides together, sew around three sides of your flap leaving the longest edge open. Clip corners, and turn right side out. Press.

With your flap facing inside (as pictured) pin the raw edges along one side of the inside piece. Baste. Your pockets should be secured only by the seams along the bottom and the middle.

With right sides together, pin your outer fabric to the pocketed inside. With a 1/4 inch seam, sew around all four sides, leaving an opening above the pockets to turn. Clip corners.
Turn Right sides out, push out your corners, press and top stitch along the top edge only. Measure and mark where you want your snaps to be. I used sew on snaps.

Test your size, and be impressed with how well you did!


Doesn't it look nice paired with a key fob? Who should I give this to for Christmas? It makes a great thoughtful gift.

By the way, I have some great posts coming up for next week-I will be making some things for the boys and I know you'll want to see them!
2 comments:
Those are super cute, and look great with the matching key fobs! Yay! :)
This is my favorite project yet! Maybe it will be my first project... right before the jean quilt.
Post a Comment