
My Little boys LOVE helping in the kitchen, and I have spent a considerable amount of time trying to wrap am adult sized apron around their little bodies. On Christmas Morning they will be opening a custom fit apron and chef hat. I can't wait to see how they like it!

The first step is measuring your child. The measurements you will need are:
Length from just bellow center collar bone to just below knee. Mine: 22"
Length from center collar bone to waist. Mine: 7"
Length across chest at armpit level. Mine: 7"
Waist. Mine: 14"
Length starting at armpit level on one side, around neck, and to armpit on other side. Mine: 16"
Length from center collar bone to waist. Mine: 7"
Length across chest at armpit level. Mine: 7"
Waist. Mine: 14"
Length starting at armpit level on one side, around neck, and to armpit on other side. Mine: 16"
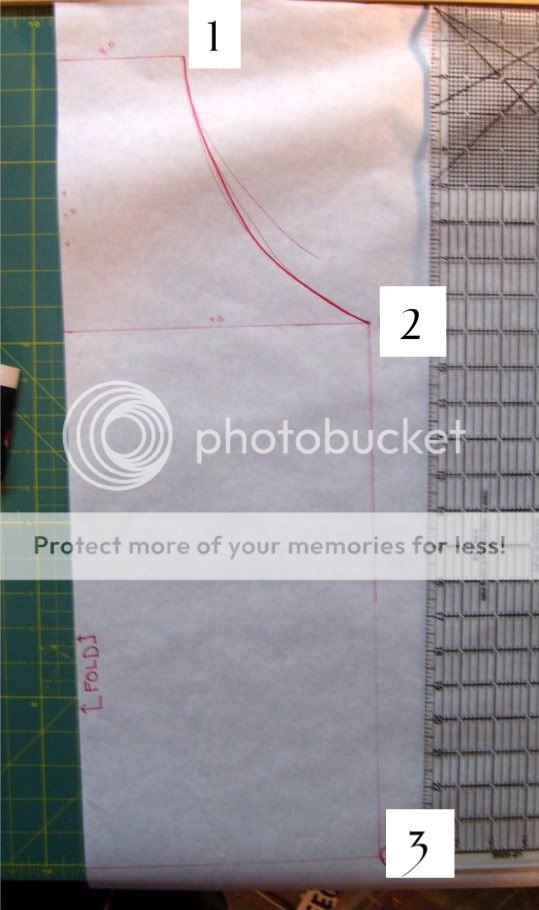
Drawing your own pattern. Use Freezer paper and a ruler to draw your pattern.
(1)At the top make a line that is half your chest across length. My line is 3.5".
(2)Using your ruler, draw your second line 7" down from the top line. Draw a parallel line that is half the waist length. My line is 7".
(3)Measure down from your top line the full length of the apron, in my case 22". Draw a third parallel line half the length of the waist. Another 7" line for me.
Last connect line 1 to line 2 with a sloping line. This will be done free hand, just go slowly until you have the shape that you want.
Cut one on the fold of your fabric. I used a lightweight denim because I know these are for little boys and I wanted durability. Cutting on the fold ensures that both sides match.
Prepare your pocket. Cut a strip of fabric on the grain that is 22" by 6". Press in half matching 6" ends.

Sew around all three open sides, leaving a small opening for turning. This will leave all your edges enclosed in your pocket. Clip corners, turn and press.

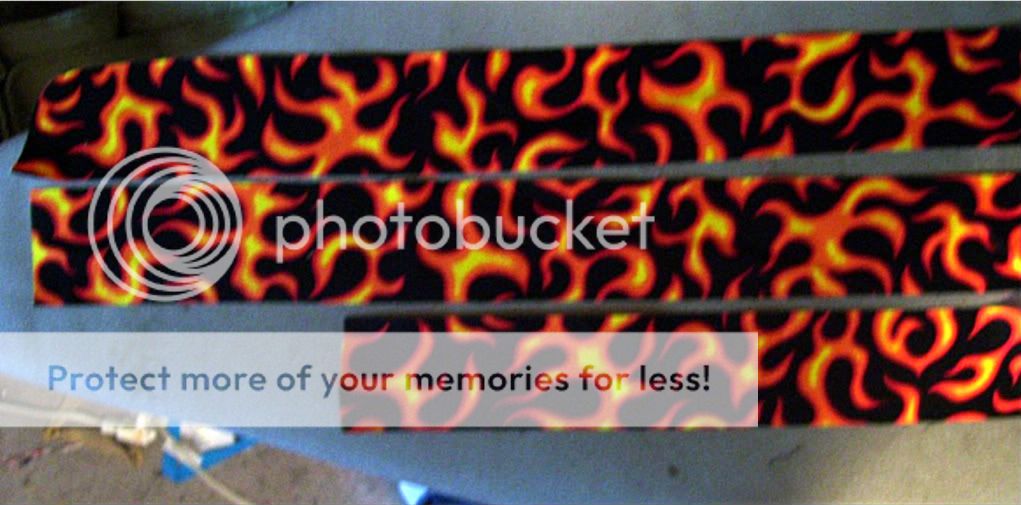
Cut two 14" by 2.5" strips that will become the ties, and one 18" by 2.5". Sew all three into tubes with ends closed and a small opening to turn them on the length. Look at the bottom tube to see where I put mine. Backstitch at all start/stop points.
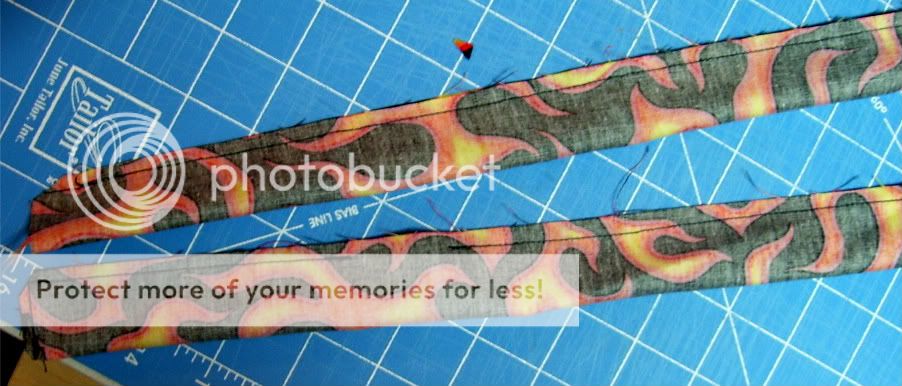
Clip corners, turn right side out and press. Make sure to use a pencil and push the corners out so you have a nice clean corner.
Instead of finishing all the edges by turning, and pressing twice. I put a binding around the entire edge. After binding I pinned one tie to each side at the waist point and top stitched down. I pinned the neck band to the top and top stitched there as well. Instead of binding you can use bias tape as well. Need help binding? I am going to send you to Ashley at MakeitLoveit for help. I do finish mine a little differently, but my pictures are blurry so my own tutorial will have to wait.
Pin your pocket onto the right side of your fabric. Make sure the opening you left is on the bottom so it will be sewn closed. Sew around three edges, leaving the top of the pocket open. I sewed right at the edge, and then another stitch 1/8" next to it. Then in the middle of your pocket, sew two seams to divide the pocket into two pockets. I sewed then 1/4" apart.

And that is it! I am so excited for the boys to open these! Along with some measuring spoons, wooden spoons, and a safety potato peeler. (utensils purchased at the dollar store!)
Stop by tomorrow for the chef hat tutorial-You will be so happy to see how easy and fast it is!
2 comments:
This is so cute,I just can't even handle it!!
I have kind of been MIA on the computer as of late, but I'm back. At least for a few days until we head back to Everett. I love all the new things you've been doing though! The boys will LOVE their apron sets and I love the heat/rice bags! I have one that I use for my cramps and I need to make another one because I love it so much and I like the way you did your. Much cuter!
Post a Comment